Creating Location Groups in Local Falcon makes it easier to set up Campaigns and other types of scans for groups of business locations that you want to use the same Scan Settings for.
You can also create subgroups to further segment business locations for more specific Campaigns.
Instead of manually searching for and adding each location individually when setting up Campaigns and other scans, you can simply add the whole group to a Campaign at once.
Additionally, you can filter reports by Location Groups and subgroups, allowing you to quickly put together different data for stakeholders.
Creating a New Location Group
- Open the "Locations" drop-down
Make sure you're logged into your Local Falcon account, then select "Locations" from the main navigation menu in your dashboard.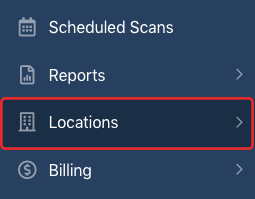
- Select "Location Groups"
This will take you to the Location Groups hub, where you'll find any groups after you create them and can add to, edit, or delete them.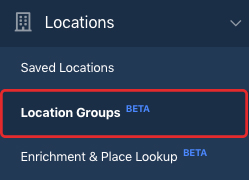
- Click the "Create New Group" button
This will launch a pop-up where you can fill in the identifying details for the new Location Group.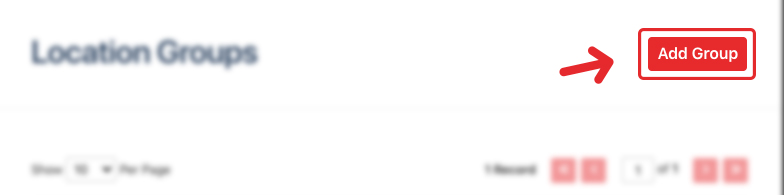
- Give the Location Group a name
Type a name for the group into the "Group Name" field. The name should be something that helps you easily identify the group, but you can always change it later on.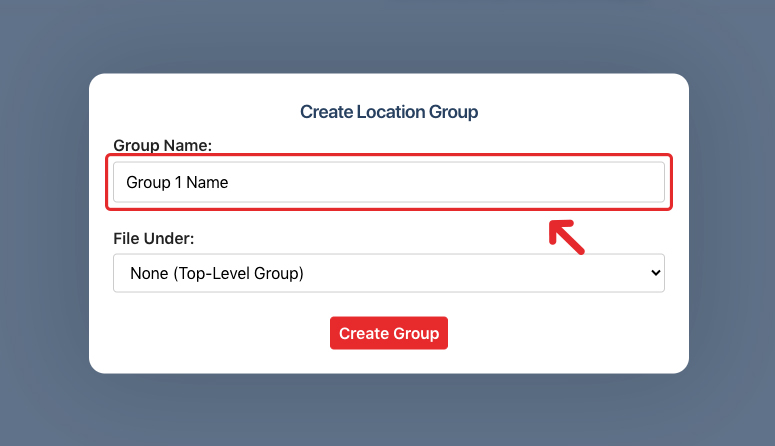
- Choose where to file the group (optional)
Once you have at least one Location Group created, you can choose to file new groups underneath them to create subgroups.
If you don't want to file the new group under anything, leave the selection in the "File Under" drop-down set to "None (Top-Level Group)."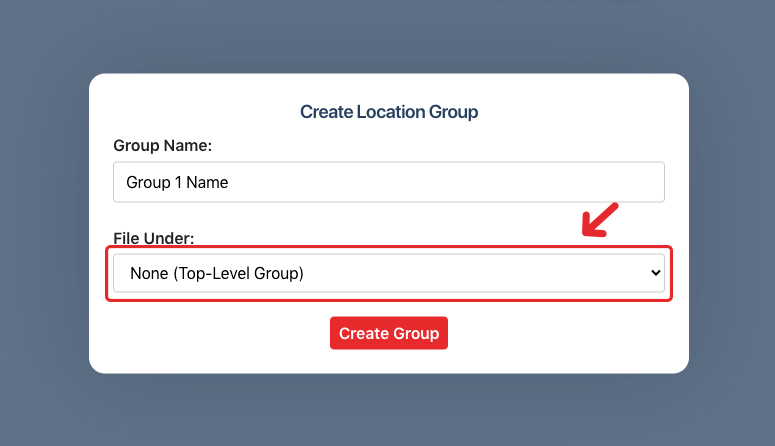
- Hit the "Create Group" button
Your new group will now be saved in your Location Groups hub.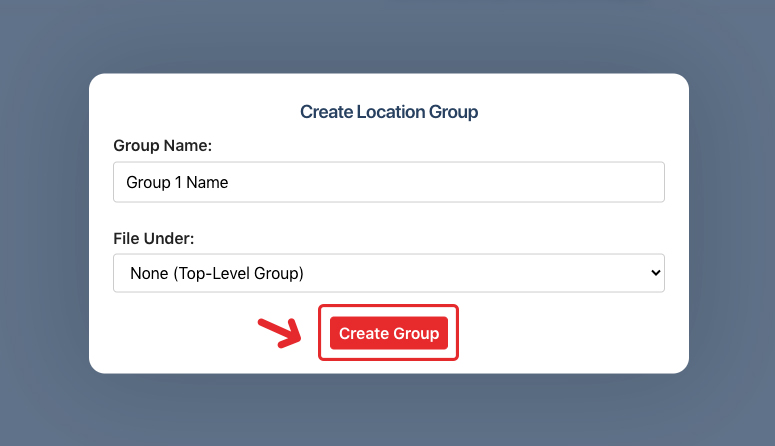
Adding Locations to a Location Group
- Click the "+" button next to a group
From your Location Groups hub, browse your created groups and click the "+" button next to a group you want to add locations to.
This will launch a pop-up where you can search for and add multiple business locations to the Location Group.
Note: Alternatively, you can go to your Saved Locations and hit the "Add to Location Group" button next to any of your locations. Then, just select an existing group to add it to or create a new one from the drop-down that appears. - Search for the location(s) you want to add
Type a name, address, or other identifier into the search bar to pull up business locations you want to add to the Location Group.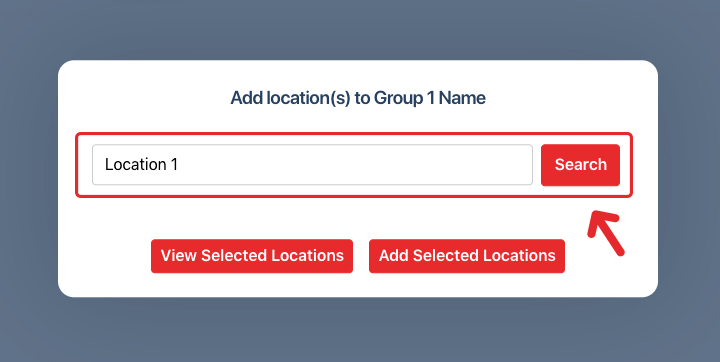
- Select each location you want to add
Click the empty box next to a location name to check the box, thereby selecting it to add to the Location Group.
You can keep searching for more locations to add without deselecting your previous choices.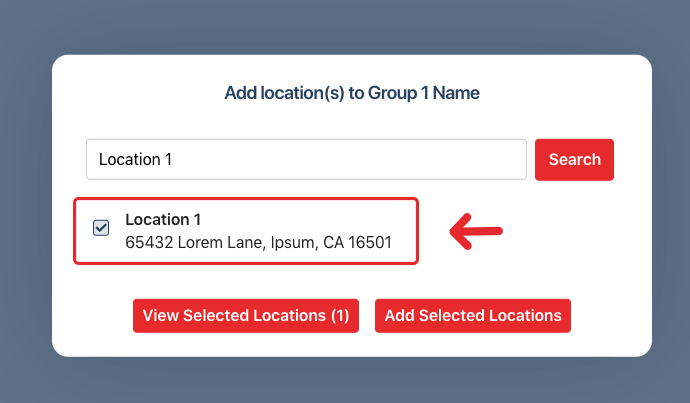
- Hit the "Add Selected Locations" button
Once you've chosen all the locations you want to add to the group, click the "Add Selected Locations" button at the bottom of the pop-up to finalize your selection and add them to the group.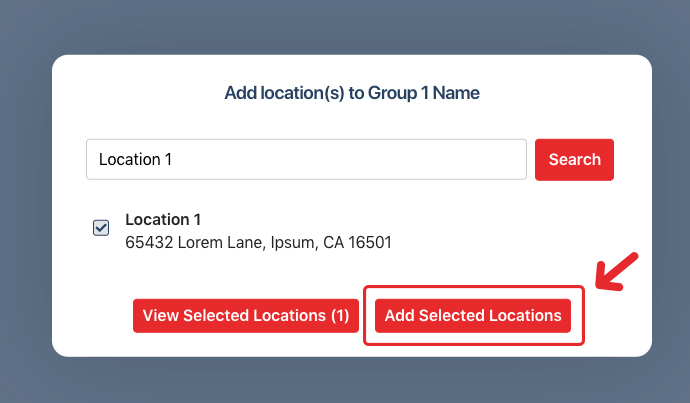
Category:Reporting
Tags:location groupscampaigns